What is the quick answer?
Learn how to voice over a video with pro-level results. Our guide covers scripting, recording, editing, AI tools like Satura, and delivery for creators.
Key takeaways
- Your Video Is Only Half Done Without Great Audio
- Bad audio signals low trust
- Two paths actually work
- Scripting and Timing for a Natural Flow
- Write like a person speaks
- A quick before and after
Overview
You finish the edit. The visuals are clean, the pacing feels right, the hook is strong. Then you play it back and the voiceover sounds thin, roomy, late, or weirdly flat. The whole video suddenly feels cheaper than it looks.
That's the trap. Most creators treat voiceover like the last checkbox instead of part of the performance. But audio changes how viewers judge authority, clarity, and whether the video is worth sticking with in the first few seconds.
If you want to learn how to voice over a video, don't start with gear shopping. Start with workflow. The right process fixes more problems than an expensive microphone ever will.
Your Video Is Only Half Done Without Great Audio
A weak voiceover ruins strong footage faster than most creators expect. Viewers will forgive a simple shot. They won't forgive audio that sounds distant, muddy, or disconnected from the edit.
That's not just a creative opinion. Satura AI's Trustscore analytics analyzing 10,000+ YouTube channels found that videos with unoptimized voiceovers suffer 24% lower retention at 30 seconds and 18% fewer views overall compared to polished ones. If your narration has rumble below 100Hz or your levels jump around, the damage shows up where it hurts most: retention and reach.
Bad audio signals low trust
People don't sit there and think, “this creator forgot a high-pass filter.” They just feel friction.
They strain to understand you. They turn the volume up, then down. They notice the room echo, the laptop fan, the harsh S sounds, the dead delivery. That friction stacks up, and once a viewer starts working to hear you, they're already halfway out.
Practical rule: If your video looks polished but the narration sounds amateur, viewers judge the whole production by the audio.
This matters even more for faceless channels, explainer content, documentaries, tutorials, and Shorts where the voice carries the story. In those formats, the narrator isn't background decoration. The narrator is the engine.
Two paths actually work
There are two reliable ways to get pro-level voiceover into your videos.
| Path | Best for | Trade-off |
|---|---|---|
| Manual recording and editing | Creators who want full control over tone and performance | Slower, more technical, easier to mess up |
| AI-assisted workflow | Creators who need speed, consistency, or cleaner production with less effort | Requires good voice selection and smart timing choices |
The mistake is assuming one path is always better. It isn't. A talking-head creator with strong delivery may get more from a simple mic setup and light cleanup. A faceless channel pushing frequent uploads may need a faster system that handles generation, editing, and timing in one place.
That's why audio has become a significant bottleneck for many creators. This breakdown on why monetization often stalls at the audio layer gets at the problem clearly. The visuals usually aren't what kills momentum. The sound does.
Scripting and Timing for a Natural Flow
Most bad voiceovers are written badly before they're recorded badly.
If your script reads like an essay, your narration will sound like someone reading an essay. Viewers hear that stiffness immediately. Good voiceover starts with writing for the ear, not the eye.

Write like a person speaks
A useful benchmark comes from TechSmith's voice-over guidance. For a conversational delivery, aim for 140-160 words per minute and keep the script around an 8th-grade readability level. It also notes that overly complex jargon can reduce comprehension by up to 35%.
That doesn't mean you have to sound simplistic. It means you should sound clear.
Here's what usually works:
If you need a starting point, a video script template for creators can help you structure the narration before you ever open the mic.
- Shorter sentences: Long written sentences collapse when spoken out loud.
- Concrete phrasing: “Cut the dead air” lands faster than “remove unnecessary pauses.”
- Built-in breath points: Write where a human would naturally pause.
- One idea at a time: If a sentence tries to teach three things, the viewer remembers none of them.
A quick before and after
Stiff version
In order to achieve professional-sounding voiceover results for your video content, it is important to ensure that your scripting methodology aligns with audience comprehension expectations and pacing requirements.
Better spoken version
If you want your voiceover to sound professional, fix the script first. Keep it clear, pace it well, and make sure it sounds like something a real person would actually say.
The second version is easier to record, easier to understand, and easier to sync to visuals.
Time the script to the edit
A lot of creators write the full narration first and only later realize it doesn't fit the footage. Then they rush lines, trim breaths too aggressively, or squeeze key points into visuals that move too fast.
Use this simple timing check before recording:
A script that barely fits on paper usually won't fit in a video.
For Shorts and fast-paced explainers, I like scripts that sound slightly underwritten on the page. That gives the delivery room to breathe. It also leaves space for emphasis, reaction shots, captions, or quick visual reveals.
- Read the script aloud at normal speed.
- Mark the moments where visuals change.
- Cut any sentence that runs longer than the shot can support.
- Leave room for silence. Silence gives the edit shape.
Readability beats cleverness
A script can be smart without sounding academic. In practice, the strongest voiceovers usually have these traits:
If a line feels awkward when you say it once, it will feel worse on take seven. Fix it in the script. That's cheaper than fixing it in the edit.
- They open fast
- They avoid throat-clearing
- They swap jargon for plain English
- They use rhythm, not complexity, to sound confident
Getting Pro Sound Without a Pro Budget
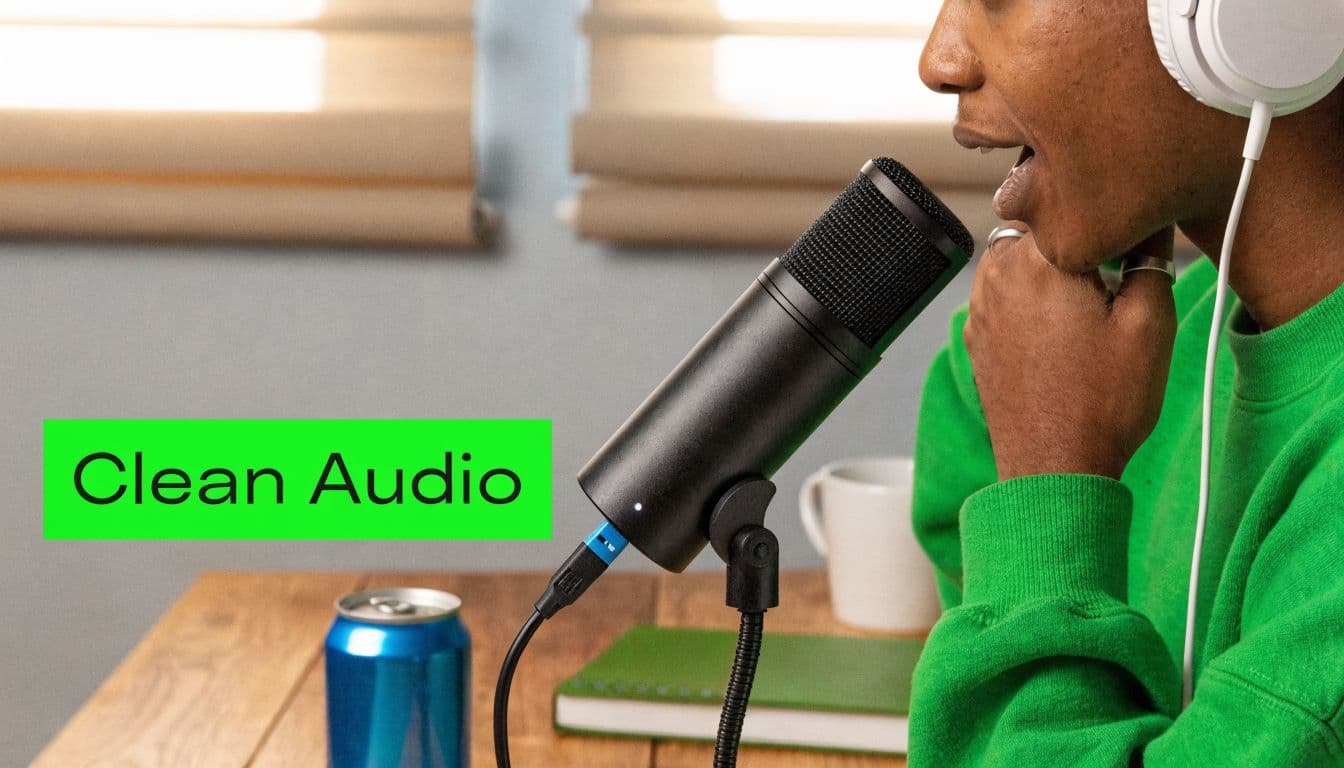
The room matters more than the mic. That's the part beginners usually learn after wasting money.
A decent microphone in a quiet, soft room can sound polished. An expensive microphone in a reflective bedroom can sound rough, boxy, and amateur. If you're trying to figure out how to voice over a video at home, focus on the environment first.
Start with the quietest space you already have
You don't need a custom booth to get useful results. You need less echo and less noise.
A closet with clothes works. A corner with blankets works. A small room with curtains, cushions, and soft surfaces usually beats a large clean-looking office with bare walls.
Try this fast setup:
- Kill reflections: Hang blankets beside and behind the mic position.
- Lower room noise: Turn off fans, AC if possible, and noisy devices.
- Record away from windows: Street noise sneaks in more than people expect.
- Use soft materials nearby: Pillows, rugs, and clothing all help absorb bounce.
Choose the mic for the room, not for bragging rights
For most solo creators, a USB condenser mic is the easiest entry point because setup is simple and detail is good. But condensers also hear everything. That includes your room.
Dynamic mics usually reject more background noise and can be more forgiving in untreated spaces. If you're trying to sort out the trade-offs, this guide on microphone selection for live sound gives a practical breakdown of dynamic versus condenser behavior.
Here's the short version:
| Mic type | Good at | Watch out for |
|---|---|---|
| USB condenser | Detail, clarity, easy desktop setup | Picks up room echo and background noise |
| Dynamic mic | Rejecting unwanted room sound | May need more gain and closer mic technique |
Neither mic type saves a bad room.
What are the common questions?
What is the short answer for How to Voice Over a Video for Maximum Impact?
Learn how to voice over a video with pro-level results. Our guide covers scripting, recording, editing, AI tools like Satura, and delivery for creators.
What should creators do first?
Silence the room
Who is this guide for?
This guide is for YouTube creators, faceless channel operators, agencies, and teams using AI tools to improve video production and growth.
Action checklist
Apply this to your channel today.
- 1Silence the room
- 2Add soft materials around you
- 3Set mic distance
- 4Do a test sentence
- 5Listen back on headphones
- 6Fix the room before blaming your voice