Key takeaways
- Why Your Next Viral Video Needs to Be Two Videos
- Where side by side works best
- What doesn’t work
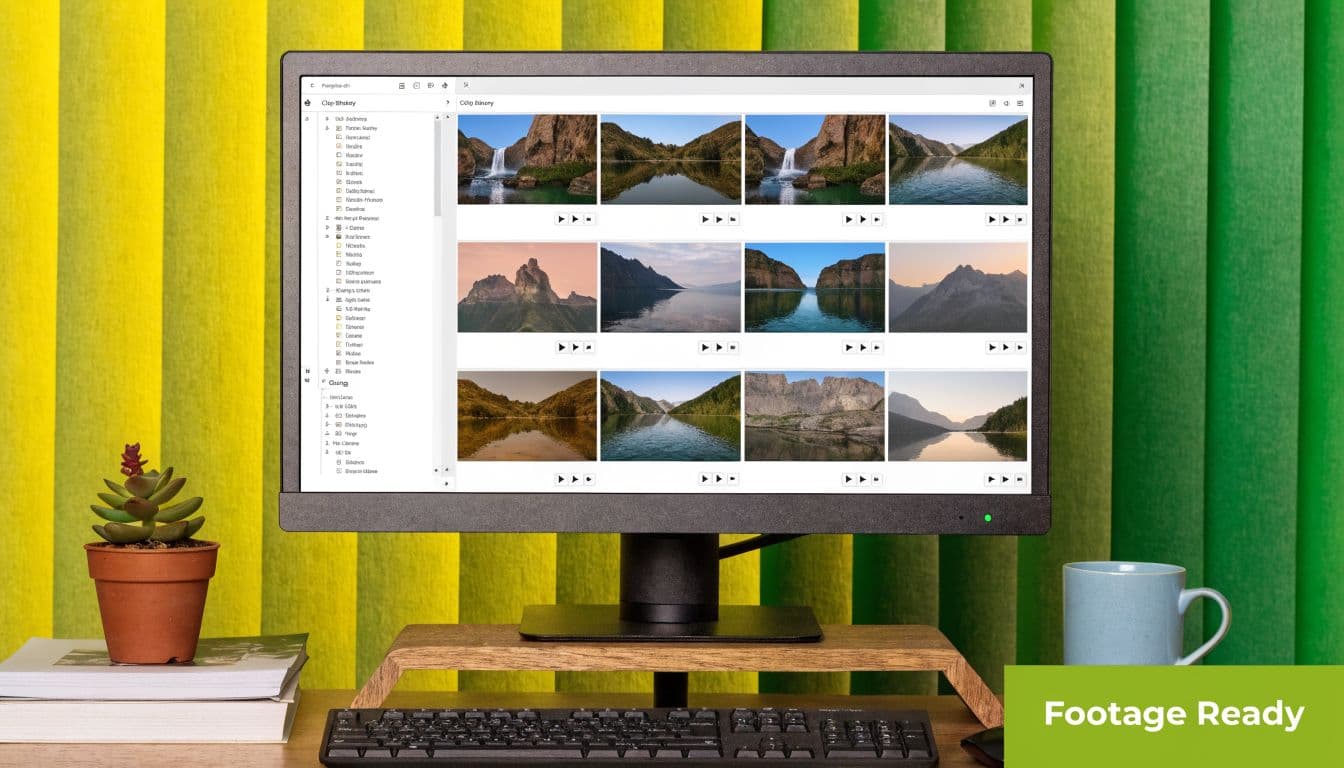
- Preparing Your Footage for a Perfect Merge
- Match the footage before you edit
- Treat audio like the main event
Overview
You’ve probably done this already. You record a reaction, interview, gameplay clip, or before-and-after demo, drag both videos into an editor, and then spend way too long trying to make them feel like one clean piece of content. One clip is louder. The framing doesn’t match. The split looks awkward on Shorts. By the time it’s export-ready, the “quick post” has turned into an editing tax.
That’s why a good side by side video app matters. Not because split-screen is flashy, but because it solves a real storytelling problem. Sometimes one frame isn’t enough. You need the original clip and the reaction. The product demo and the result. The host and the guest. The facecam and the gameplay.
The creators who make split-screen look easy usually aren’t doing anything magical. They’re choosing the format on purpose, prepping their footage before they edit, and treating sync like a non-negotiable. That’s the difference between slick and amateur.
Where side by side works best
Some formats naturally benefit from a side by side video app more than others:
Practical rule: If the audience needs to compare, react, or connect two perspectives, split-screen usually beats a single-frame edit.
There’s also a retention advantage in plain creative terms. The eye has more to explore. Viewers keep checking one side against the other. That small visual tension keeps a static clip from feeling static.
For short-form creators, that matters even more. Shorts, Reels, and TikTok reward videos that give people something to process immediately. A split-screen can do that in the first second, especially when the relationship between the two panels is obvious. If you’re trying to sharpen your short-form instincts, Satura AI’s breakdown on how to go viral on YouTube Shorts is useful for understanding why certain visual formats hold attention faster than others.
- Reaction content works because viewers can watch the source material and the response in real time.
- Before-and-after transformations hit harder when both states are visible at once.
- Interviews and podcasts feel more alive when both speakers stay on screen instead of cutting back and forth.
- Gameplay with facecam keeps the action visible while preserving personality.
- Comparisons become instantly easier to follow when both options share the frame.
What doesn’t work
Split-screen is not a cheat code. It flops when both panels compete for attention or when one side feels pointless.
Bad split-screen usually has one of these problems:
When split-screen works, it tells two parts of the same story. When it fails, it feels like two unrelated videos shoved into one frame.
- No hierarchy. Both panels look equally important, so the viewer doesn’t know where to look.
- Weak relationship. The two clips are technically side by side, but they don’t create a stronger idea together.
- Overcrowding. Captions, stickers, graphics, and two busy clips all fight for the same space.
Preparing Your Footage for a Perfect Merge
Most editing pain starts before the edit.
Creators love to obsess over which side by side video app to use, but the app can’t save bad prep. If your clips have different frame rates, mismatched resolutions, muddy audio, and no sync point, you’re signing up for a clunky timeline and a frustrating export.
Match the footage before you edit
The fastest split-screen edits start with footage that already belongs together.
Check these before you import anything:
If one clip is sharp and the other is soft, the difference gets exaggerated when both share the frame. Start with the highest quality versions you have.
Motion mismatch makes split-screen feel off even when viewers can’t explain why. Keep both clips on the same frame rate if possible.
Vertical and horizontal can work together, but only if you plan the layout around it. Don’t force a horizontally oriented clip into a vertical split at the last second and hope it looks intentional.
Rename files before they hit the timeline. “Final_final2.mp4” is how people lose time and sync the wrong take.
A simple folder structure helps more than people admit. Keep source clips, audio, graphics, and exports separated. That matters most when you’re versioning content for YouTube, Shorts, Reels, and TikTok.
- Resolution
- Frame rate
- Orientation
- Naming and organization
Treat audio like the main event
Most amateur split-screen edits fail on sound, not visuals.
If you can, record clean audio separately for each person or source. Even if your side by side video app can auto-sync, it still works better when each voice is clear and isolated. Prep the levels before you assemble. If one speaker is whispering and the other is peaking, the split-screen will feel messy no matter how good it looks.
A manual sync marker also saves time. A clap works. A spoken cue works. Any sharp, obvious audio spike gives you something easy to line up later. For a solid walkthrough on the mechanics, Isolate Audio's video editing guide is one of the better practical references on syncing audio with video cleanly.
The best sync fix is prevention. Give yourself one clear marker at the start and the timeline becomes much easier to trust.
If you’re working with talking-head footage and want a cleaner composition later, tools like Satura AI’s background remover can also help you prep assets before the actual split-screen edit begins.
The prep checklist I’d use every time
Do that once, and the edit gets dramatically easier.
- Confirm matching source settings so motion feels consistent.
- Choose the target format early because a YouTube layout and a Shorts layout are not the same job.
- Clean or isolate audio first instead of trying to rescue it after the edit is built.
- Create a sync point with a clap, snap, or spoken marker.
- Organize files clearly so revisions don’t turn into detective work.
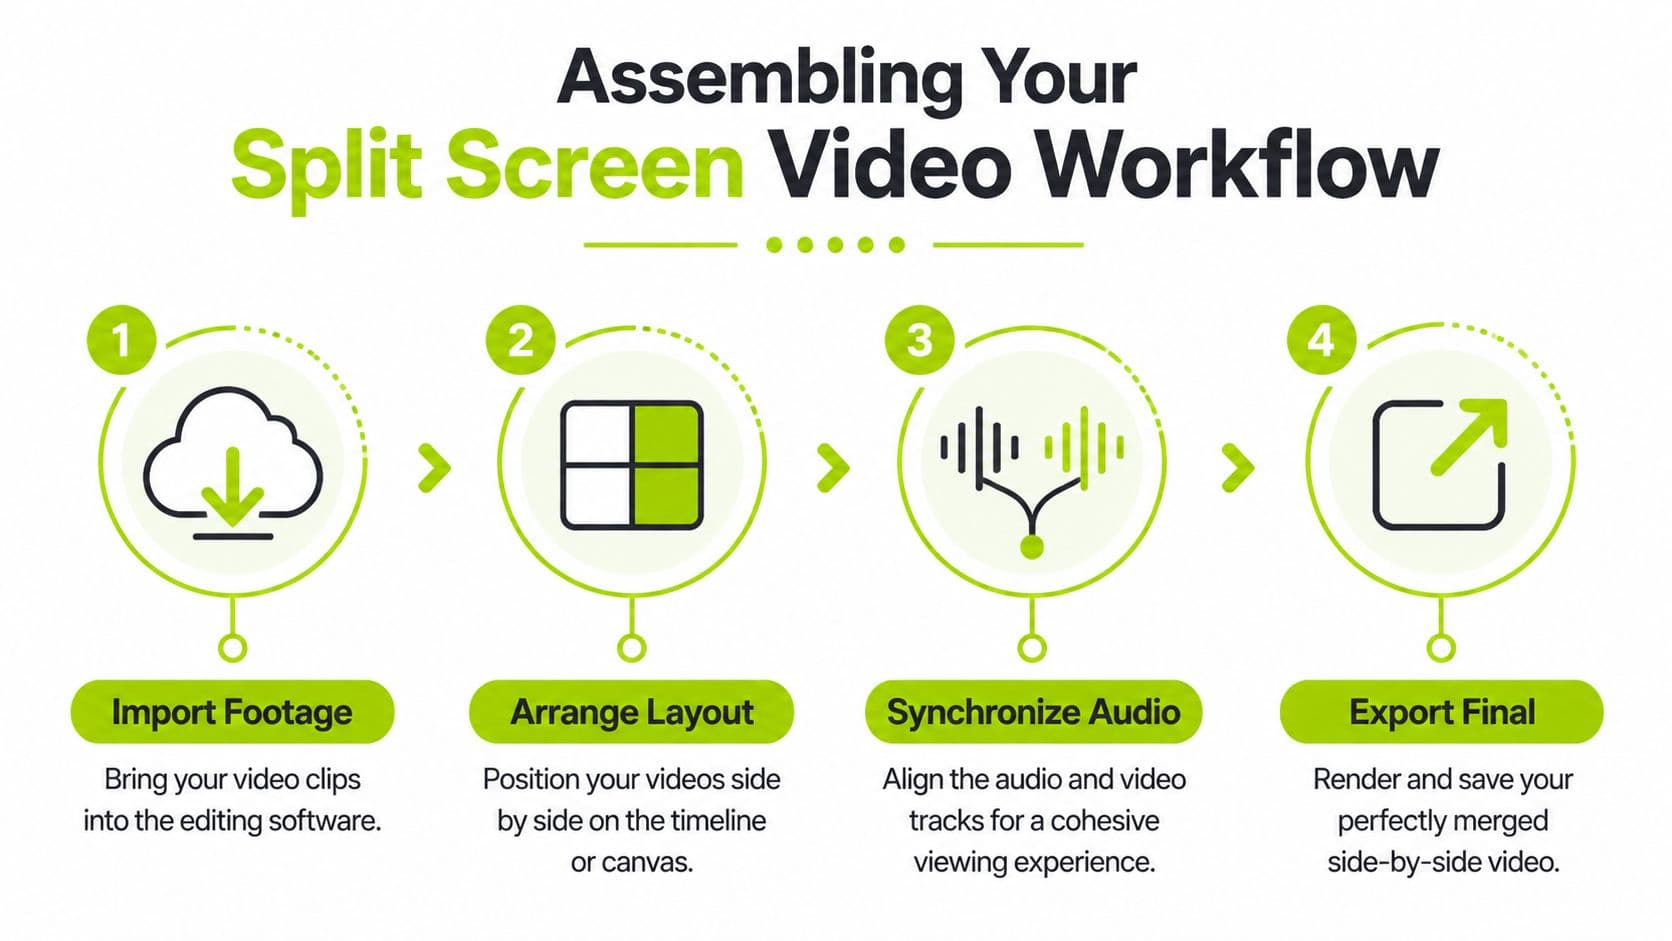
Assembling Your Split Screen Video
The actual build is straightforward once the footage is ready. Import both clips, put them on separate tracks, position each one in the frame, sync the audio, then polish the edges. The reason this feels hard for beginners is that they usually do those steps in the wrong order.
Start with the structure. Styling comes later.
Build the visual layout first
Bring both video files into your editor and stack them on separate tracks. Then resize and reposition them inside the canvas.
That sounds basic, but good creators face an early decision: equal split or intentional imbalance. A true 50/50 split works for debates, comparisons, and interviews. A larger primary panel with a smaller secondary panel works better for reactions and facecam gameplay, where one source should lead and the other should support.
Use this quick sequence:
If you want to see how wild or stylized split-screen can get, Aicut AI video samples are useful as creative reference points. Not because you should copy them directly, but because they show how much layout affects tone.
A quick visual walkthrough helps here:
- Import both clips and place them on separate layers.
- Choose the canvas size first based on the final platform.
- Scale each panel deliberately instead of accepting the editor’s default fit.
- Check eyelines and headroom so both subjects feel framed on purpose.
Sync before you stylize
This is the step that decides whether the finished video feels pro or fake.
Benchmark data reveals that mismatched audio speeds can cause a staggering 65% viewer drop-off within the first 5 seconds of a split-screen video. Properly syncing audio with waveform alignment can cut these errors by 90%, according to Think Branded Media’s split-screen production guide.
That tracks with real editing experience. Viewers will forgive a plain layout. They won’t forgive lips that don’t match the sound, reactions that hit late, or a comparison clip that drifts out of time.
Here’s the cleanest workflow:
Find the clap, hand tap, or obvious motion cue in both clips.
Audio spikes are easier to trust than eyeballing lip movement.
Don’t trim anything fancy yet. Just get them in sync.
Watch mouths, gestures, and reactions together.
- Line up the visual sync marker
- Open the waveforms
- Slide one track until both peaks align
- Play back the first few moments repeatedly
- Fix drift early
Export for the screen people will actually watch on
The export isn’t just a technical formality. It’s where a lot of split-screen videos get ruined.
Check the full frame before rendering. Make sure text doesn’t sit too close to the edges. Make sure both panels are readable on a phone. Make sure your audio mix still feels balanced after any compression the platform adds.
A side by side video app should help you get to export faster. It shouldn’t tempt you to skip the last quality check.
Action checklist
Apply this to your channel today.
- 1Confirm matching source settings so motion feels consistent.
- 2Choose the target format early because a YouTube layout and a Shorts layout are not the same job.
- 3Clean or isolate audio first instead of trying to rescue it after the edit is built.
- 4Create a sync point with a clap, snap, or spoken marker.
- 5Organize files clearly so revisions don’t turn into detective work.