What is the quick answer?
Learn how to stretch an image in Photoshop without quality loss using Free Transform, Content-Aware Scale, Warp, Puppet Warp, and smart object workflows.
Key takeaways
- Understanding Key Concepts
- Know what Photoshop is actually changing
- Stretching with Free Transform
- Use proportional and free distortion on purpose
- Using Content-Aware Scale for Protected Areas
- Protect the parts you can't afford to distort
Overview
You're staring at a Photoshop file that looked perfect in the square draft, but now it has to work as a thumbnail, a banner, and maybe a vertical crop too. The image feels too tight, the subject sits too close to the edge, and a simple drag on the corner handle might solve one problem while creating three more. That's the core challenge behind how to stretch an image in Photoshop, not just making it bigger, but choosing the right method so the edit still looks intentional.
The good news is that Photoshop gives you a few different paths, and each one behaves differently depending on whether you're stretching a background, a product shot, a face, or a graphic with text. Most desktop Photoshop guides don't connect stretching methods to platform-specific output like YouTube thumbnails or TikTok covers, leaving creators without a decision framework for preserving focal areas in multi-format workflows (CapCut's resource on Photoshop stretching workflows). That gap matters, because the wrong move can pull attention off the hook area or leave a face looking obviously warped. If you're also checking whether the source image can hold up after edits, this guide on how to understand if a photo is real is a useful companion reference.
Understanding Key Concepts
A creator opens a 16:9 draft, then needs the same image to work as a thumbnail, a cover, and a social crop. If the subject is centered well, a basic stretch may be harmless. If the subject sits near the edge, that same move can make the frame feel awkward or push key detail into the wrong place, which is why the choice of method matters more than the drag itself.
Know what Photoshop is actually changing
Free Transform, Image Size, and Content-Aware Scale do different jobs. Free Transform changes the layer geometry, Image Size changes pixel dimensions and resampling behavior, and Content-Aware Scale tries to protect important content while redistributing less important areas. That difference matters because a pure stretch can break shape, while a content-aware edit can keep faces, products, or text from getting crushed.
The practical decision starts with the asset, not the tool. A banner background can usually tolerate more distortion than a logo, a face, or on-image text. For a composition-minded approach that pairs well with crop and framing decisions, the golden spiral composition guide from Satura AI is useful when you want to keep the viewer's eye on the right part of the frame.
Practical rule: if the subject is the thing viewers must notice first, don't treat stretching as a one-click fix.
If you need to understand if a photo is real, the safest habit is to preserve obvious natural cues while you stretch. Faces, hands, lettering, and product edges show distortion faster than backgrounds do, so those areas deserve the most caution. A quick test is to zoom in before and after the transform, then compare whether the subject still reads naturally at the final output size.
For output-focused work, a second filter helps. If the asset is meant for a YouTube thumbnail, a Shorts cover, or a podcast promo, think in terms of safe areas and focal retention instead of raw enlargement. That framing makes the method choice easier and keeps the edit aligned with the final platform.
Stretching with Free Transform
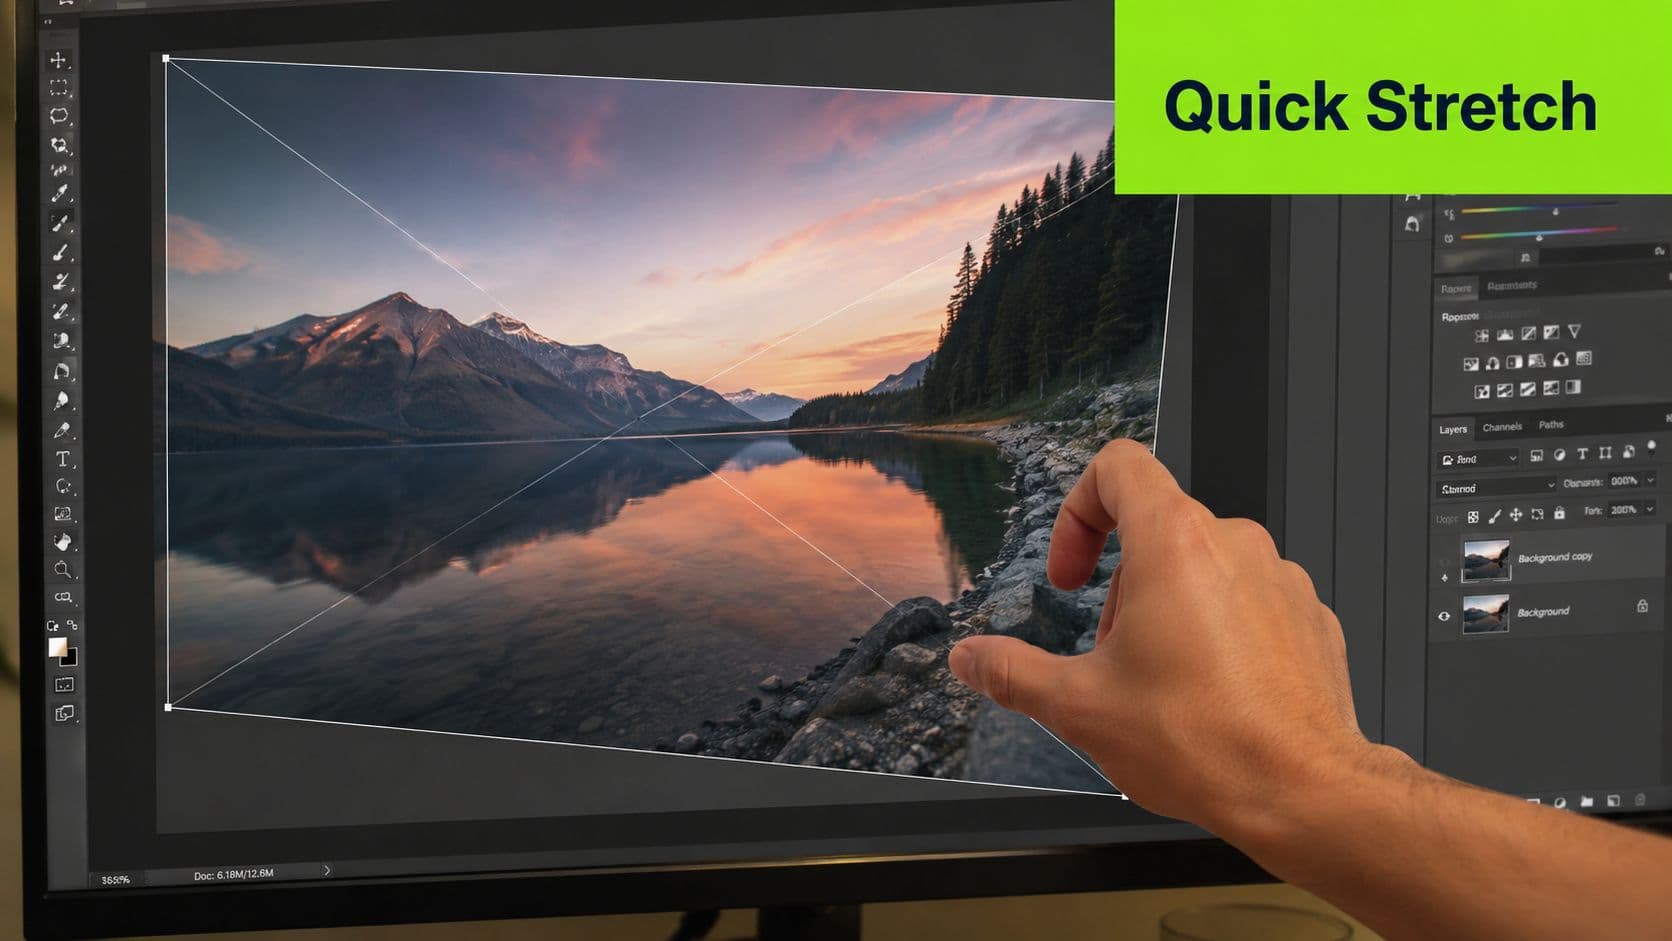
A banner that needs a wider layout, a background that has to fill a new crop, or a product frame that is slightly too tight usually starts with Free Transform. Select the layer, press Ctrl+T on Windows or Command+T on Mac, then drag a corner or side handle to resize or distort the image. The workflow is fast, but the trade-off is obvious. The more you stretch, the sooner edges, faces, and text begin to look pushed.
Use proportional and free distortion on purpose
The key decision is whether you want to keep the aspect ratio or intentionally break it. Depending on the Photoshop version and settings, Shift may constrain proportions or temporarily switch the transform behavior, so the safest habit is to watch the handles and confirm what the tool is doing before you commit. If the goal is to widen a background plate, a sky, or a clean graphic block, free distortion is usually fine. If the subject contains a face, logo, or readable text, stop as soon as the shape starts to look forced.
Work in small adjustments. Confirm the transform, then re-enter Ctrl+T if the image still needs more room. That extra step takes longer than one aggressive drag, but it gives you a chance to check the result at the final crop size and correct drift before the distortion gets baked in.
A practical way to judge the edit is to compare the transformed layer against the output format. A wide thumbnail, a social banner, and a print crop all tolerate different amounts of stretch. If you are building a thumbnail concept, Satura AI's thumbnail tools can help you plan the framing before you stretch the asset in Photoshop, which is useful when the hook area has to stay clear.
Don't force an exact fit if the subject already looks wrong. A clean frame with a slight amount of unused space usually reads better than a warped image that technically fills the canvas.
Using Content-Aware Scale for Protected Areas

A background that needs more room is a good fit for Content-Aware Scale when the subject has to stay intact. The method works best when you need to stretch the frame without turning a face, logo, or text into something obvious. The practical move is to protect what matters first, then let Photoshop redistribute the remaining space around it.
Protect the parts you can't afford to distort
Start by making a selection or saving an alpha channel for the protected area. Then go to Edit > Content-Aware Scale, drag the handles, and confirm the transform. If you want to see how that workflow looks in practice, a YouTube tutorial can help, but the key is still the same, define the protected content before you stretch anything.
This method is strongest on backgrounds with open space, like sky, a soft gradient, or a plain wall. Those areas give Photoshop room to shift pixels without colliding with dense detail. If the image contains a subject you need to isolate before rebuilding the background, Satura AI's background remover can handle that prep step quickly. For broader quality planning, AI Photo Generator's guide to upscalers is useful when the stretch will be followed by enlargement or output for a sharper crop.
The tool breaks down faster on faces, repeated textures, or tightly packed backgrounds. Once the algorithm runs out of clean room, artifacts show up in the wrong places. Hair, patterned fabric, and fine architecture usually resist this treatment more than a sky, a soft wall, or another low-detail backdrop.
Know when to stop and clean up
A moderate stretch usually holds up better than an aggressive one. If the unprotected area starts to look muddy, stop scaling and switch to Clone Stamp or healing tools for cleanup. That approach is especially useful for social graphics, where the image may not be zoomed in physically, but viewers still notice small distortions right away.
For background-heavy compositions, the best order is simple. Protect the subject first, stretch second, and retouch last. That sequence keeps the edit believable and prevents the stretch from becoming the first thing people notice.
Warp and Puppet Warp Techniques
Sometimes a straight stretch is the wrong shape for the problem. A subject might need a subtle bend, a shoulder may sit awkwardly after reframing, or a graphic element could need a little curve to fit the layout. That's where Warp and Puppet Warp earn their keep.
Use Warp for broad bends
Warp gives you a grid you can pull point by point, which is useful when the whole layer needs a controlled bend rather than a uniform stretch. Enter the transform, switch to Warp, and adjust the grid until the image follows the contour you want. It's a better fit for broad shape correction than Free Transform because you're not forcing the whole layer to behave like a single rectangle.
Use Puppet Warp for localized nudges
Puppet Warp is more precise when only one part of the image needs movement. Place pins where you want control, then anchor the rest so the motion stays local. It's handy for nudging an arm, a curved object, or a detail that needs to align with the composition without disturbing everything else.
Useful boundary: if the fix needs bending, use Warp. If the fix needs a small joint-level adjustment, use Puppet Warp.
If the image includes complex body parts or curved text, Puppet Warp can help, but it's not magic. The tool behaves best when the adjustment is subtle and the base image already has good structure. For deeper manipulation of elements that don't sit well with a global stretch, masking becomes the difference between a tidy edit and a messy one.
Leveraging Smart Objects and Resampling Settings
Stretching gets risky when you edit the same layer more than once. Convert the layer to a Smart Object first, and you keep the source data intact while you experiment with scale and distortion. That makes it easier to step back if the first pass looks soft or awkward.
What are the common questions?
What is the short answer for How to Stretch an Image in Photoshop Without Quality Loss?
Learn how to stretch an image in Photoshop without quality loss using Free Transform, Content-Aware Scale, Warp, Puppet Warp, and smart object workflows.
What should creators do first?
Expand background first: Use the crop-and-fill workflow before touching the subject.
Who is this guide for?
This guide is for YouTube creators, faceless channel operators, agencies, and teams using AI tools to improve video production and growth.
Action checklist
Apply this to your channel today.
- 1Expand background first: Use the crop-and-fill workflow before touching the subject.
- 2Stretch in stages: Small adjustments usually hold up better than one heavy pull.
- 3Retouch after, not during: Clean up softened edges once the overall shape feels right.
- 4Protect the hook area: Faces, logos, and text need to stay readable first.
- 5Build for the platform: A graphic meant for TikTok, Reels, or YouTube needs different safe zones.