What is the quick answer?
Learn how to make AI Pixar movies with a practical workflow covering tools, prompts, editing, legal tips, and packaging for YouTube Shorts success.
Key takeaways
- What an AI Pixar Movie Looks Like in 2026
- Locking Your Concept Before You Touch a Tool
- Write the emotional engine
- Turn the logline into standalone shots
- Build the reference board
- Picking and Stacking the Right Generative Tools
Overview
You've just rendered your first AI animated short. The robot looks charming in the opening frame, then its eyes change color, the mouth slides sideways, and sunset lighting suddenly turns into noon. The clip is technically impressive, but the character no longer feels like the same character.
That's the starting point for AI Pixar movies in 2026. The winning process isn't one magic prompt. It's a segmented hybrid pipeline where generative models create shots, a browser-based workspace assembles them, and human editing protects the story, performance, and rhythm. The workflow below is designed to move from concept to published short without losing control every time a model produces a beautiful but unusable frame.
What an AI Pixar Movie Looks Like in 2026
An AI Pixar movie is a visual target, not an official production category. Pixar describes Toy Story, released on November 22, 1995, as the world's first computer-animated feature film on its official history page. Independent reporting places its production at about four years, using more than 400 computer-generated models, 114,240 frames, and roughly 800,000 machine hours to render the final film. That history sets the right expectation: polished digital animation depends on a coordinated pipeline, not a single clever prompt.
A creator making a short today can use a smaller, segmented hybrid pipeline. Text-to-video or image-to-video generation supplies shot ideas and motion. Reference images protect character identity. Selective upscaling, editing, captions, sound, and human review turn those fragments into a finished clip. Keeping these stages in one browser-based workspace reduces tool-switching tax and makes it easier to move from prompt to published video.
The model can suggest movement and surface detail, but it will not reliably preserve a protagonist's face, emotional intention, props, and lighting across a story without supervision.
Practical rule: Approve every generated clip as a shot. Do not treat it as a trustworthy scene by default.
Viewers often read a Pixar-adjacent look through a related set of choices:
These choices describe a designed visual system, not a one-click result. They also differ from fully hand-drawn or traditionally rigged 3D animation, where artists control poses through a formal production setup. A technical account of Toy Story reports that animators reached about 3.5 minutes of completed animation per week. Woody alone had 712 animation controls, including 212 in his face and 58 in his mouth (production details). Those figures show why generative tools are useful, but also why consistency still requires deliberate control.
For a modern creator, the workable approach is to lock the idea, build repeatable character references, generate short fragments, test continuity, assemble the strongest takes, and package the result for mobile viewing. A practical AI Pixar movie guide can provide inspiration. The browser-based workspace handles the handoffs, while production discipline turns a striking render into a watchable film.
- Soft subsurface-skin lighting, giving faces gentle dimensionality.
- Large expressive eyes, with controlled catchlights that remain legible on small screens.
- Rounded, stylized geometry, rather than realistic proportions or hard industrial edges.
- Cinematic camera movement, such as slow pushes, over-the-shoulder framing, and lens-like depth of field.
Locking Your Concept Before You Touch a Tool
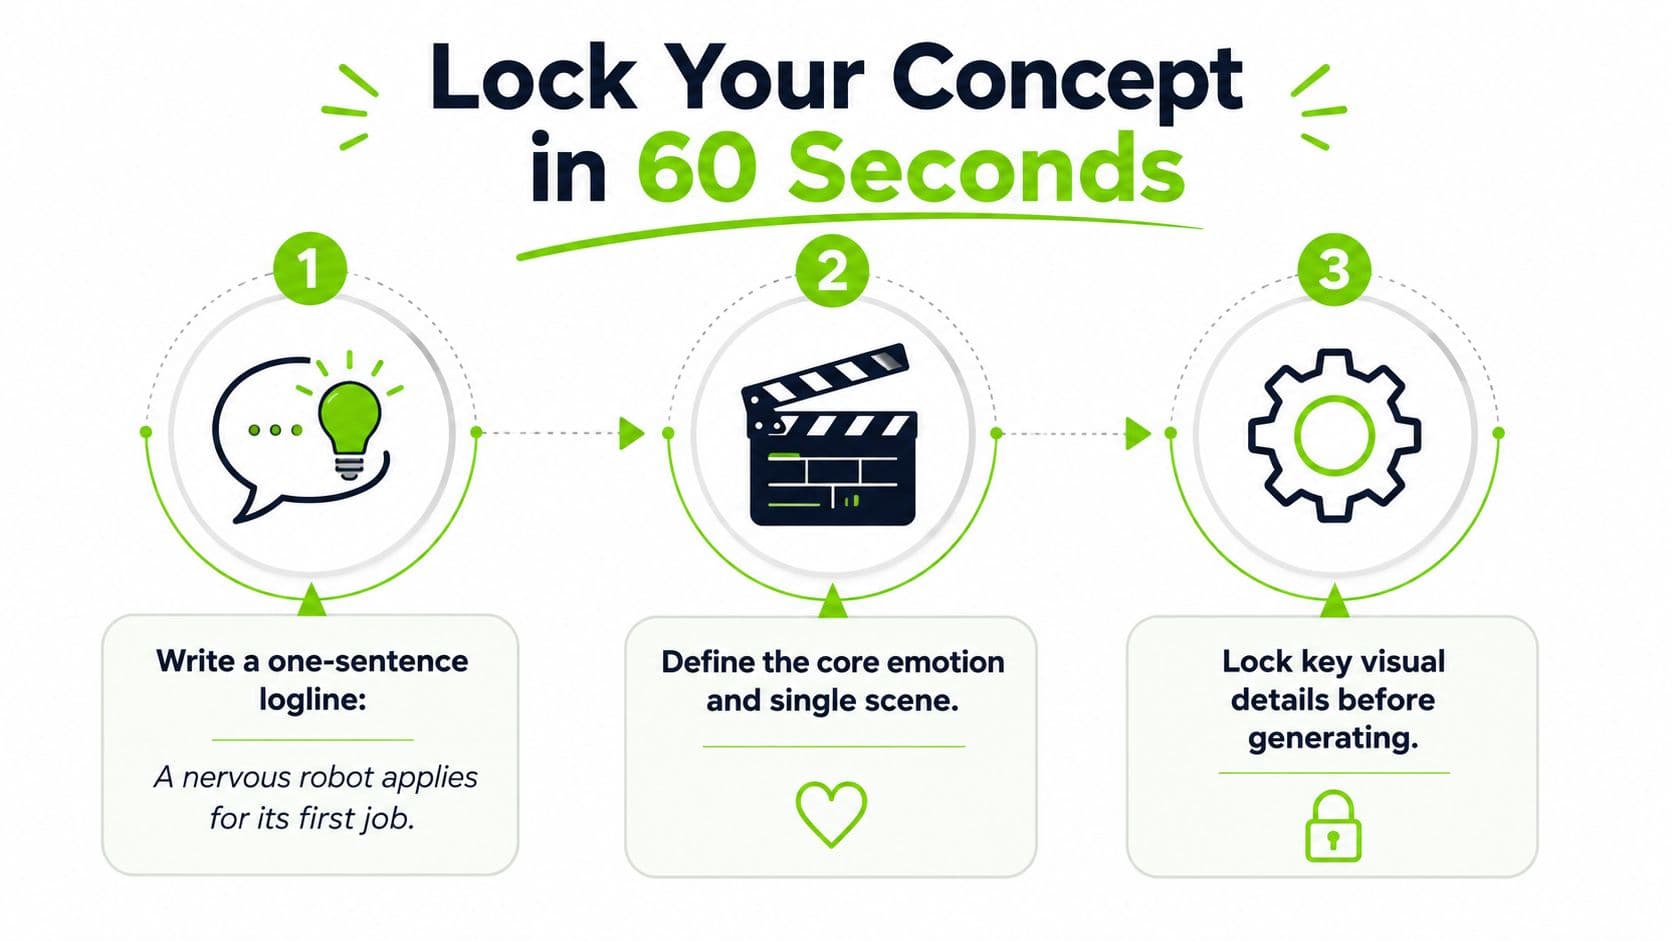
A generator can produce attractive frames before you've decided what the story means. That's dangerous because visual variety feels like progress, while each new variation makes continuity harder. Start with three small artifacts: a logline, a shot plan, and a reference board.
Write the emotional engine
Use a 60-second short about a nervous robot applying for its first job. The logline should identify the character, the desire, and the obstacle in one sentence:
A nervous service robot wants to win its first job interview, but its panic keeps activating the wrong tools at the worst moments.
That sentence gives the model useful boundaries. The robot has a clear want, the interview creates a contained setting, and the malfunctioning tools create physical comedy. It also gives the editor an emotional direction, embarrassment that gradually becomes confidence, rather than a collection of disconnected gags.
Turn the logline into standalone shots
Break the story into six to eight shots. Each shot needs an action, camera move, and emotion that can survive as its own prompt.
- Wide establishing shot: The robot waits outside an office, with a slow push toward its trembling hands. Emotion, anxious anticipation.
- Medium shot: It rehearses an introduction in a reflective elevator panel. Emotion, forced confidence.
- Close-up: Its eye display flickers as the elevator opens. Camera holds still. Emotion, sudden panic.
- Tracking shot: The robot enters the interview room and accidentally extends a cleaning arm. Emotion, surprise.
- Over-the-shoulder shot: The interviewer watches while the robot tries to hide the arm. Emotion, embarrassment.
- Close-up: The robot takes a breath and presents a clever repair it made. Emotion, cautious pride.
- Two-shot: The interviewer smiles and offers a handshake. Emotion, relief.
- Final push-in: The robot's hand shakes, then steadies. Emotion, earned confidence.
Build the reference board
Pin the character design, a few lighting tests, the office environment, and two or three style keywords. For this example, use “soft global illumination, rounded forms, warm key light.” Add practical details that must remain fixed, such as the robot's teal casing, one dent above its left eye, a yellow tie, and a compact tool compartment on its hip.
Locking these artifacts before opening a generator saves regeneration time because every shot has a defined job. It also gives you something concrete to compare against when a model produces a polished frame that doesn't belong in the film.
Picking and Stacking the Right Generative Tools
Tool selection gets easier when you assign each product one job. The common mistake is subscribing to several platforms that all generate similar clips, then spending the evening moving files between them. For AI Pixar movies, the useful stack usually has four lanes.
| Production Lane | Job It Does | Example Tools | Key Trade-off |
|---|---|---|---|
| Text-to-video | Create hero shots, camera pushes, and broad motion ideas | Runway, Kling, Google Veo | Strong visual invention, but motion, clip length, and character continuity vary |
| Image-to-video | Animate a locked concept frame or character pose | Satura AI, Runway, Kling | Better starting identity, but the source image can limit movement |
| Image upscaling | Recover detail and improve a selected final frame or shot | Topaz Video AI, Magnific, built-in model upscalers | More detail can also emphasize artifacts or alter the intended style |
| Browser-based editing | Assemble clips, trim timing, add captions, sound, and export | Satura AI, CapCut Web, Adobe Express | Convenience varies, and advanced compositing may still require specialist software |
Text-to-video works well for an establishing shot where the environment does most of the storytelling. Image-to-video is safer for a protagonist because you can create the character sheet first and animate from a known design. Upscaling belongs near the end. Enlarging every failed take only makes you pay for detail on footage you'll never publish.
Choose for the bottleneck
If the story depends on a complicated camera move, test a text-to-video model with a short prompt and a simple subject. If the story depends on a character looking identical from shot to shot, begin with a reference image and use image-to-video. If the problem is a soft face or unstable texture, select the best take first and upscale only that material.
Satura AI fits the browser-based workspace lane while also offering image-to-video generation from an uploaded illustration or image. Its AI video creation tools overview is useful when you're comparing generation and editing roles rather than collecting subscriptions. Keeping generation, assembly, and revision in one workspace removes much of the export-import-export loop that breaks frame parity and makes prompt history difficult to track.
The trade-off is simple. A unified workspace reduces friction, while specialist tools may offer deeper control for one narrow task. Start unified for short-form production, then add a specialist only when you can name the exact limitation it solves.
Writing Prompts That Hold Up Across Iterations
A prompt should behave like a production specification, not a disposable sentence. If you change the entire prompt every time a shot fails, you won't know whether the model improved the action, the lighting, the character, or pure randomness.
Use a three-line structure:
Subject and action: A shy teal service robot hands over a resume with both hands, shoulders raised, eyes focused on the interviewer.
Render cues: Pixar-style stylized 3D animation, rounded forms, soft subsurface skin-like materials, bright eye highlights, warm key light, gentle depth of field.
Camera and composition: Medium close-up, eye-level camera, slow push-in, robot centered with the interviewer slightly out of focus in the background.
Append a negative block that protects the project from common contamination:
Negative prompt: No trademarked character names, no watermarks, no logos, no live-action skin texture, no photorealistic humans, no extra fingers, no text distortion, no sudden costume changes.
The phrase “Pixar-style” can communicate a visual direction, but original design details should carry the actual identity. Don't rely on a studio name to define the character. Describe proportions, materials, lighting, color, expression, environment, and camera language instead.
Build a reusable character reference sheet
Generate one front view, one three-quarter view, and an expression grid for each main character. Save that sheet as the visual input for every later shot. For the nervous robot, the fixed details might include a rounded teal shell, a single dent above the left eye, a yellow tie, short articulated legs, and a rectangular tool compartment.
The reference sheet won't eliminate drift, but it gives the model a stronger anchor than repeating a name or a vague description. It also gives you a fast rejection test. If the silhouette, eye shape, or accessory changes, don't spend time polishing the clip.
Use the Satura AI video prompt generator when you want to structure prompt variations without losing the core specification.
Iterate in controlled passes
Start with the silhouette pass. Check body shape, costume, props, and screen direction. Move to the lighting pass only after the design holds. Finish with the micro-expression pass, where a small eye movement, pause, or mouth change carries the emotion.
Save every promising version before you re-roll. Keep a prompt log containing the seed number, model version, reference image, shot number, and exact phrasing. That record turns a lucky frame into a repeatable process and makes it possible to return to the last stable version instead of rebuilding from memory.
Editing, Captions, and Sound in One Workspace
The edit decides whether a good-looking AI clip feels like a film or a folder of experiments. Put every approved fragment into a browser-based timeline, then trim for emotional momentum rather than preserving the full generation. A model may produce a beautiful pause, but if the pause doesn't increase curiosity, cut it.
For a short robot interview, the sequence should escalate. Begin with the nervous preparation, introduce the public mistake, hold the embarrassment long enough for the viewer to understand it, then give the robot a credible recovery. Chronology helps, but emotional escalation matters more. A technically correct sequence can still feel flat if every shot has the same intensity.
What are the common questions?
What is the short answer for How to Make AI Pixar Movies: A Creator's Workflow Guide?
Learn how to make AI Pixar movies with a practical workflow covering tools, prompts, editing, legal tips, and packaging for YouTube Shorts success.
What should creators do first?
Hook under 2 seconds: Open with curiosity, conflict, or an emotional surprise.
Who is this guide for?
This guide is for YouTube creators, faceless channel operators, agencies, and teams using AI tools to improve video production and growth.
Action checklist
Apply this to your channel today.
- 1Hook under 2 seconds: Open with curiosity, conflict, or an emotional surprise.
- 2Beat resets every 8 to 12 seconds: Introduce a meaningful visual or story change.
- 3Captions burned in: Make dialogue readable without sound.
- 4CTA at the final beat: Ask viewers to follow, comment, or watch the next episode.
- 5Hashtags aligned with the niche: Use tags that describe animated shorts, AI filmmaking, or the story category.
- 6Pinned comment drafted: Invite a specific response, such as which tool the robot should bring to its next interview.
Sources & methodology
- Satura editorial guide based on the source video, topic cluster, and article sections.
- Source video reviewed for this article: https://www.outrank.so/