What is the quick answer?
Start editing today with this beginner-friendly tutorial for Premiere Pro. Learn project setup, essential cuts, color, audio, captions, and export settings.
Key takeaways
- Use Add Edit for live cutting: Great for interviews and long talking-head footage.
- Keep V and C in muscle memory: Switching between selection and cutting should feel instant.
- Learn Y earlier than you think: Slip edits are one of the cleanest ways to refine timing.
- Export from the keyboard: Small savings add up.
Overview
You've got footage sitting on a drive, a deadline in your head, and Adobe Premiere Pro open in front of you. The clips are there. The timeline is empty. You know the finished YouTube video in your mind probably looks clean, fast, and intentional. The problem is getting from raw files to that final export without wasting half your day clicking the wrong thing.
That's where most beginner advice falls apart. It treats Premiere Pro like a museum tour. Lots of panels, lots of features, not much help getting an actual video done. A good tutorial for Premiere Pro should do the opposite. It should get you moving fast, show you which tools matter, and be honest about where manual editing still eats time.
Premiere Pro is still worth learning because it teaches real editorial thinking. But it's no longer the only path, especially if you make faceless videos or pump out shorts. Data shows that 68% of new YouTube creators operate faceless channels, while under 15% of traditional Premiere tutorials address that workflow, leaving a gap that AI tools offering 5–7x faster production for faceless content are beginning to fill in this breakdown of faceless-channel workflows. If you're comparing your setup with other best apps for YouTube creators, that gap becomes obvious pretty fast. It also helps to understand the broader shift in what video editing software YouTubers use, because a lot of creators now mix traditional editing with browser-based AI tools instead of forcing everything through one app.
Welcome to Premiere Pro Now What
Opening Premiere Pro for the first time feels less like starting a creative app and more like being handed the controls to a machine someone forgot to label. Project panel, Source monitor, Program monitor, timeline, tool bar, effects, audio meters. It's a lot.
The mistake beginners make is thinking they need to understand all of it before they can edit anything useful. You don't. You need a repeatable workflow for getting footage in, cutting the dead parts, cleaning audio, adding captions, and exporting something that looks intentional.
That's why I don't teach Premiere as a giant list of features. I teach it as a sequence of decisions. Which clip starts the story. Where the boring part ends. Which pause gets cut. Which line needs a caption. That mindset matters more than knowing where every button lives.
Practical rule: If a feature doesn't help you choose, trim, clean, or export, ignore it for now.
There's another assumption worth dropping. Learning Premiere Pro doesn't mean you must do every part of your workflow inside Premiere forever. For long-form talking head edits, interviews, sponsored videos, and client work, Premiere is excellent. For high-volume shorts, faceless channels, and repurposed clips, manual editing can become the bottleneck.
That doesn't make Premiere obsolete. It makes it foundational. You learn timing, structure, pacing, and cleanup here. Then you decide where speed matters more than control. A modern creator needs both instincts.
What beginners should focus on first
Start with these five things and skip the rest for now:
Premiere rewards editors who make hundreds of small clean decisions, not people who memorize every panel.
If you keep that in mind, this tutorial for Premiere Pro stops feeling intimidating. It becomes a practical editing habit.
- Project organization: Know where your footage, music, graphics, and exports live.
- Sequence creation: Let Premiere match your footage instead of guessing settings.
- Basic trimming: Cut, ripple delete, and move on.
- Audio cleanup: Viewers forgive average visuals faster than messy dialogue.
- Captions and export: Finish the video. Don't get trapped polishing forever.
Your First Project Setup for Flawless Editing
A messy project creates slow edits. Not bad edits first. Slow edits. You lose time searching for b-roll, relinking missing files, or realizing your timeline settings don't match your footage.
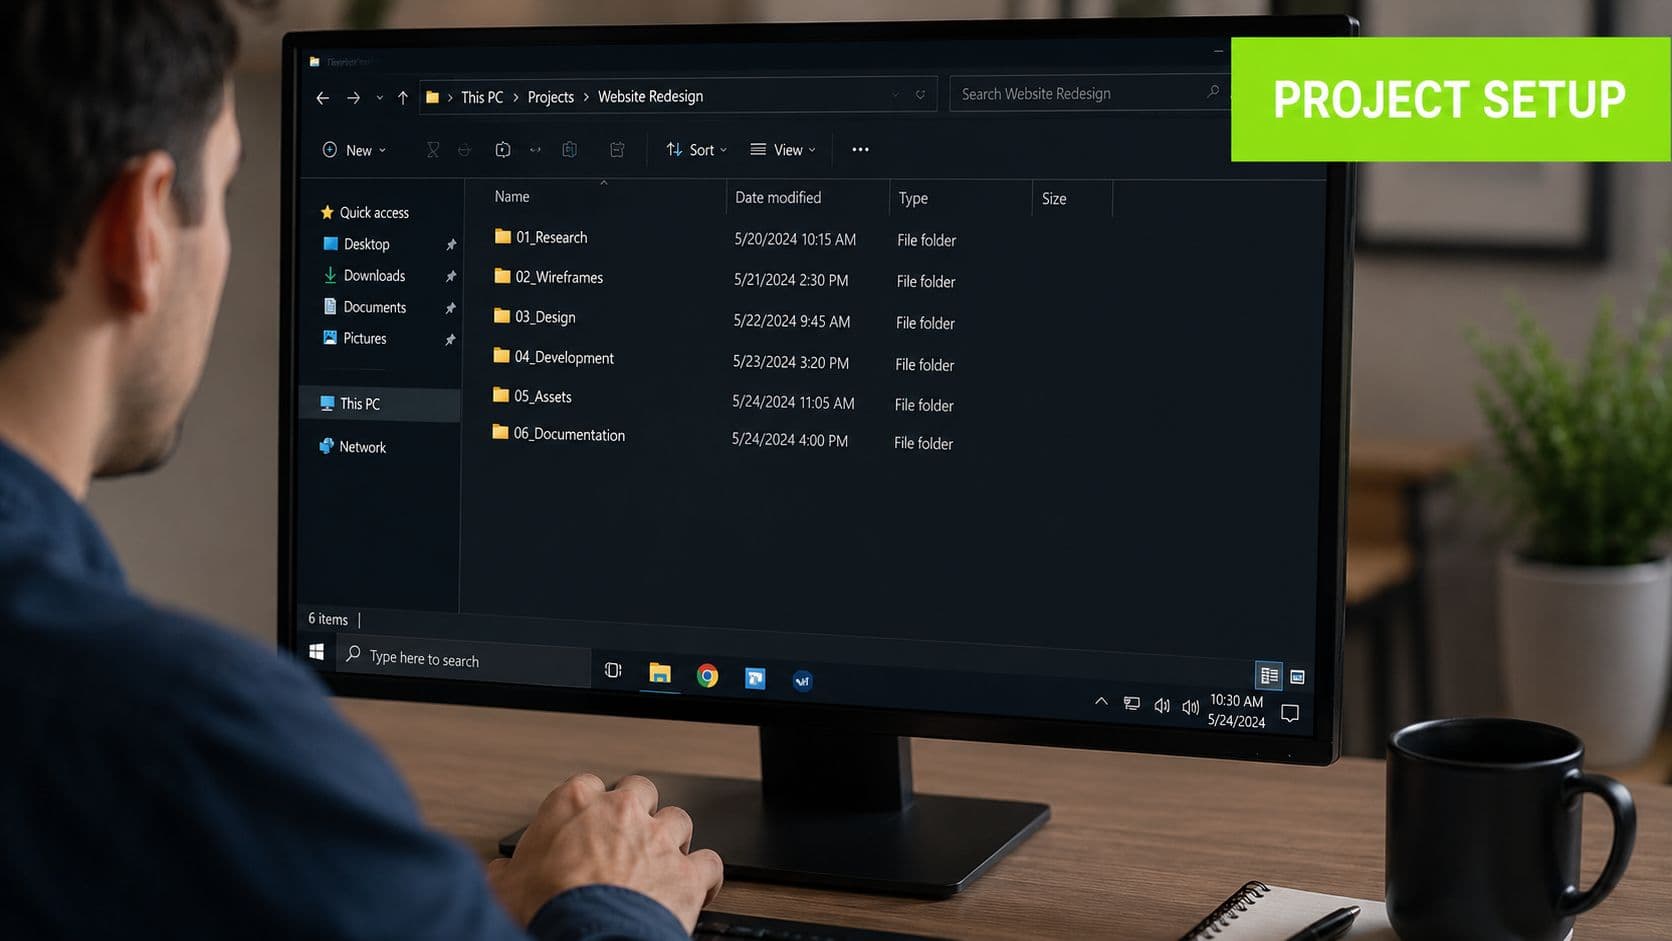
Build a clean project before you edit
Before you import anything, create a simple folder structure on your drive. Keep it boring and consistent. For example:
Inside Premiere, mirror that structure with bins in the Project panel. This sounds basic because it is. It also saves you from the classic beginner move of dumping everything into one giant media pile and then hunting for assets by filename.
Keep your eye on three panels:
If you're editing on lightweight hardware or a browser-first machine, it's also worth knowing there are alternatives built for simpler setups, including a free video editor for Chromebook workflow when desktop software feels like overkill.
- Footage
- Audio
- Music
- Graphics
- Exports
- Project File
- Project panel: Your filing cabinet.
- Timeline: Where the edit lives.
- Program monitor: Your current output.
Let Premiere create the sequence for you
Beginners often overcomplicate sequence settings. They open a new sequence menu, stare at presets, then pick something that almost matches the footage. That's how you end up with weird playback, black bars, or unnecessary troubleshooting.
When you drag your first clip onto an empty timeline, Premiere Pro automatically generates a sequence with the exact right frame rate, resolution, and codec, preventing common setup errors that plague beginners, as explained in this Premiere Pro beginner guide.
That one habit removes a lot of setup friction.
Use this pre-edit checklist:
Here's the bigger point. Great project setup doesn't feel productive in the moment because nothing flashy happens. But a clean setup is why the actual editing feels smooth later. That's the trade-off. Two organized minutes now save a pile of annoying decisions later.
- Name the project clearly: Include the topic or publish date so you can find it later.
- Save early: Premiere is powerful, not magical. Save before you get comfortable.
- Import selectively: Bring in the clips you need, not your whole memory card if the project is small.
- Create one main sequence: Don't clutter a beginner project with five test timelines.
- Label files sensibly: Rename clips if camera filenames mean nothing to you.
The Core Editing Workflow Cuts Trims and Timeline Magic
Most editing lives in the middle. Not the intro. Not the export. The middle. In this section, you shape raw footage into something watchable.
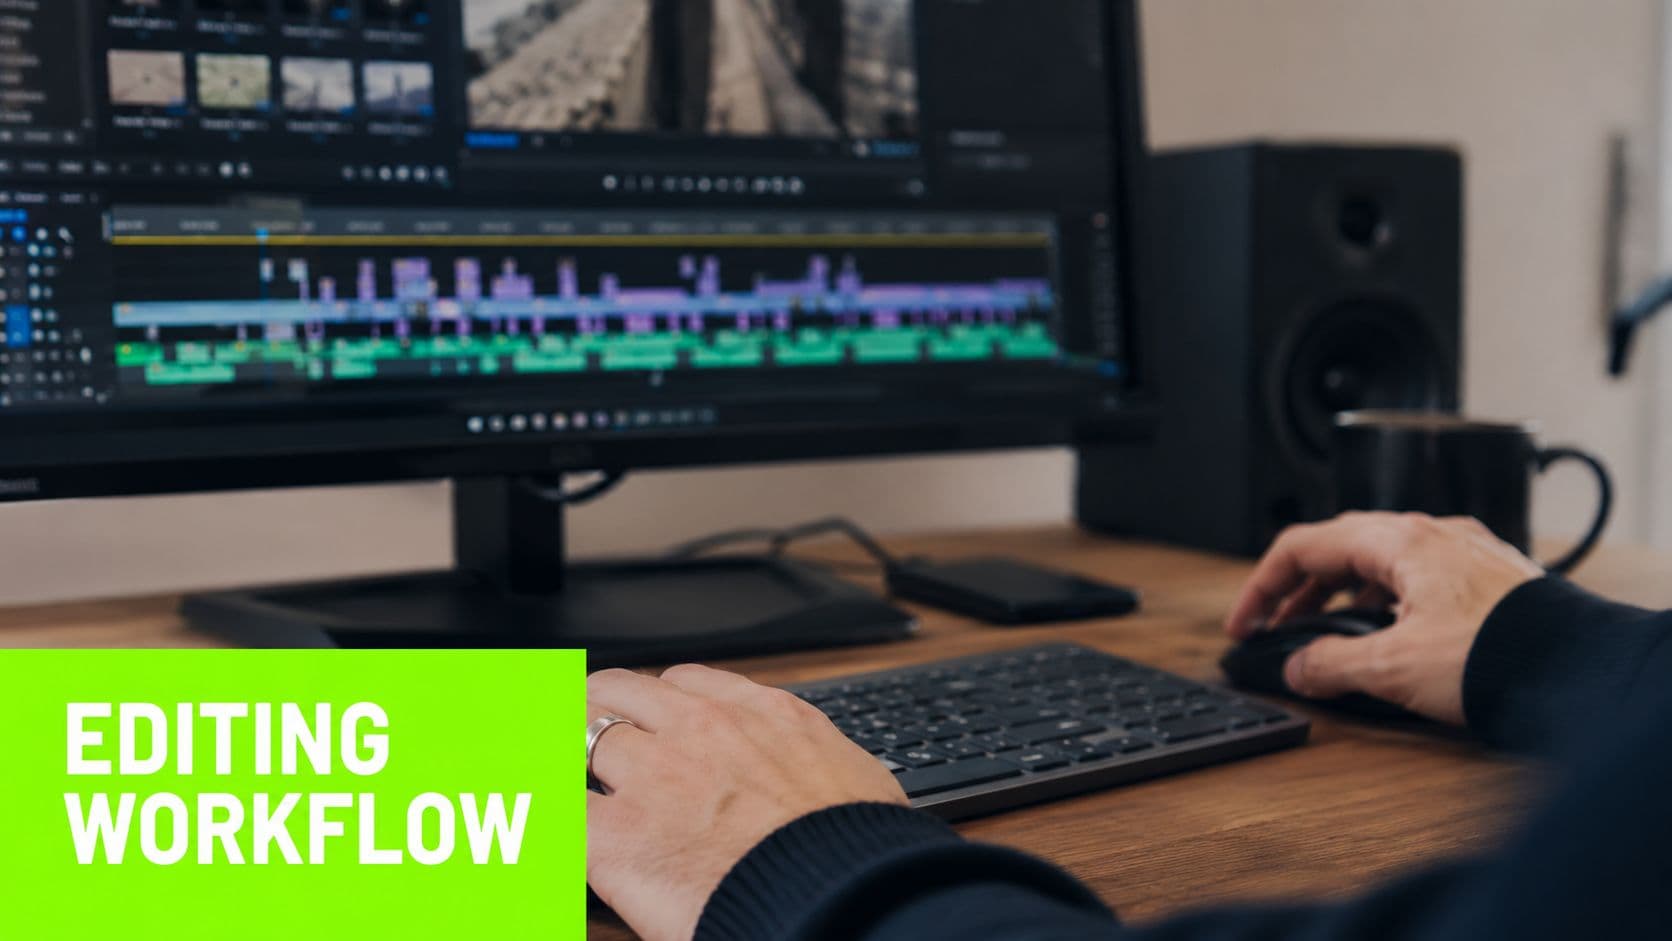
If you're learning Premiere, don't try to master every timeline tool. Get good at a small set that handles most real edits. Premiere already includes helpers like Scene Edit Detection and the Ripple Edit tool to reduce manual work, and on modern machines, updates to MOGRT files have delivered up to a 70% increase in editing speed on Macs according to this Premiere Pro performance overview. That speed gain matters more when your basic workflow is already clean.
For creators cutting high-volume vertical content, it also helps to study a dedicated video editing for YouTube Shorts workflow, because timeline habits for long-form and shorts are not the same.
The three tools that actually matter
Think of the timeline like sculpting. You're removing what weakens the piece.
Razor Tool Use it when you know exactly where a cut belongs. It's direct and simple. Slice the clip, switch back to selection, remove the bad part.
Ripple Delete or Ripple Edit This is the tool that saves beginners from timeline chaos. Delete a section and close the gap automatically instead of dragging everything left by hand.
Roll Edit This one is for timing, not removal. It adjusts the cut point between two clips without changing the total sequence length. That makes it useful once your rough cut already works and you're refining rhythm.
If you're manually deleting gaps and dragging clips one by one, the timeline is training you to be slow.
Here's the practical workflow I recommend for a rough cut:
That sequence matters. Beginners often throw in graphics too early and then have to rebuild them after trimming.
- First pass: Remove obvious mistakes, long pauses, and dead starts.
- Second pass: Tighten sentence timing and reaction beats.
- Third pass: Add b-roll or cutaways only where they help clarity.
Cut faster without fighting the timeline
Premiere gets much better when your hands stop living on the mouse. One small but powerful workflow is cutting while playback continues. In beginner terms, you're marking the moment without breaking your viewing rhythm.
A useful example from editors discussing interview workflows is this: Ripple Delete removes a selected clip and shifts later footage forward to close the gap, while Add Edit can be triggered at the playhead with Cmd/Ctrl+K even while the video plays, which makes interview editing much faster, as described in this community discussion on Premiere basics.
That's the rhythm you want. Watch, cut, keep moving.
A quick visual walkthrough helps here:
One automation worth using early
If you imported a finished video or a long baked file and need to break it into pieces, Scene Edit Detection can save serious manual effort by identifying cut points automatically. It's not magic. You'll still check the results. But it's a smart shortcut for repurposing existing content or reworking exported files.
That's a good example of what Premiere does well. It gives you solid editorial control and a handful of automation features that reduce repetitive labor. What it doesn't always give you is one-click speed for modern repurposing workflows. For that, many creators now mix foundational editing skills with faster clipping tools outside the traditional desktop stack.
Adding Polish with Transitions Color and Multicam
Polish is where beginners usually overdo it. Too many transitions. Too much saturation. Too much excitement about the fact that effects exist. A cleaner rule works better. If the viewer notices your technique before they notice the story, you probably pushed too hard.
Use restraint with transitions
Most YouTube edits need only a few transition types:
That's enough for most projects. Star wipes, spins, and novelty effects usually make a video feel less professional, not more creative.
A transition should solve a problem. Maybe two clips feel abrupt. Maybe you're compressing time. Maybe a section needs a softer handoff. If there's no problem to solve, stay with the cut.
The best transition is often the one nobody notices.
- Cut: The default for almost everything.
- Cross Dissolve: Good for soft time shifts or gentler pacing.
- Dip to Black: Useful for endings, chapter breaks, or emotional pauses.
What are the common questions?
What is the short answer for A Beginner's Tutorial for Premiere Pro: From Zero to Edit?
Start editing today with this beginner-friendly tutorial for Premiere Pro. Learn project setup, essential cuts, color, audio, captions, and export settings.
What should creators do first?
They focus on exotic commands: When basic trimming and navigation matter more.
Who is this guide for?
This guide is for YouTube creators, faceless channel operators, agencies, and teams using AI tools to improve video production and growth.
Action checklist
Apply this to your channel today.
- 1They focus on exotic commands: When basic trimming and navigation matter more.
- 2Use Add Edit for live cutting: Great for interviews and long talking-head footage.
- 3Keep V and C in muscle memory: Switching between selection and cutting should feel instant.
- 4Learn Y earlier than you think: Slip edits are one of the cleanest ways to refine timing.
- 5Export from the keyboard: Small savings add up.
Sources & methodology
- Satura editorial guide based on the source video, topic cluster, and article sections.
- Source video reviewed for this article: https://www.outrank.so/